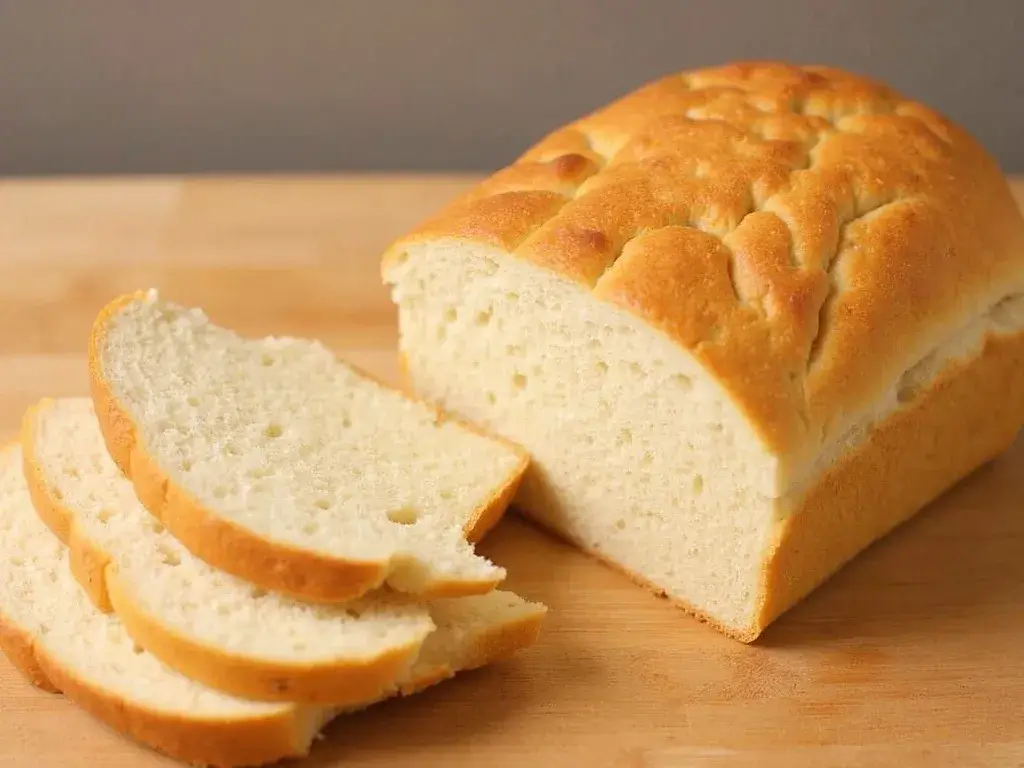
Did you know that 78% of home bakers believe sourdough bread is too complicated for everyday sandwich making, yet professional bakeries rely on the exact same techniques for their daily bread production? Most people assume that creating soft, sliceable sourdough requires advanced skills or special equipment that’s beyond reach for home kitchens. This comprehensive sourdough sandwich bread recipe demolishes that myth, guiding you through creating 2 perfectly tender, tangy loaves that slice beautifully and toast to golden perfection. Unlike crusty artisan sourdough, this sandwich-friendly version delivers the beloved fermented flavor and digestive benefits in a soft, pillowy texture that’s ideal for everything from morning toast to gourmet sandwiches. With active sourdough starter and simple pantry ingredients, you’ll master the art of homemade bread that rivals any bakery while filling your kitchen with the irresistible aroma of fresh-baked goodness.
Ingredients List
For Two Perfect Sandwich Loaves:
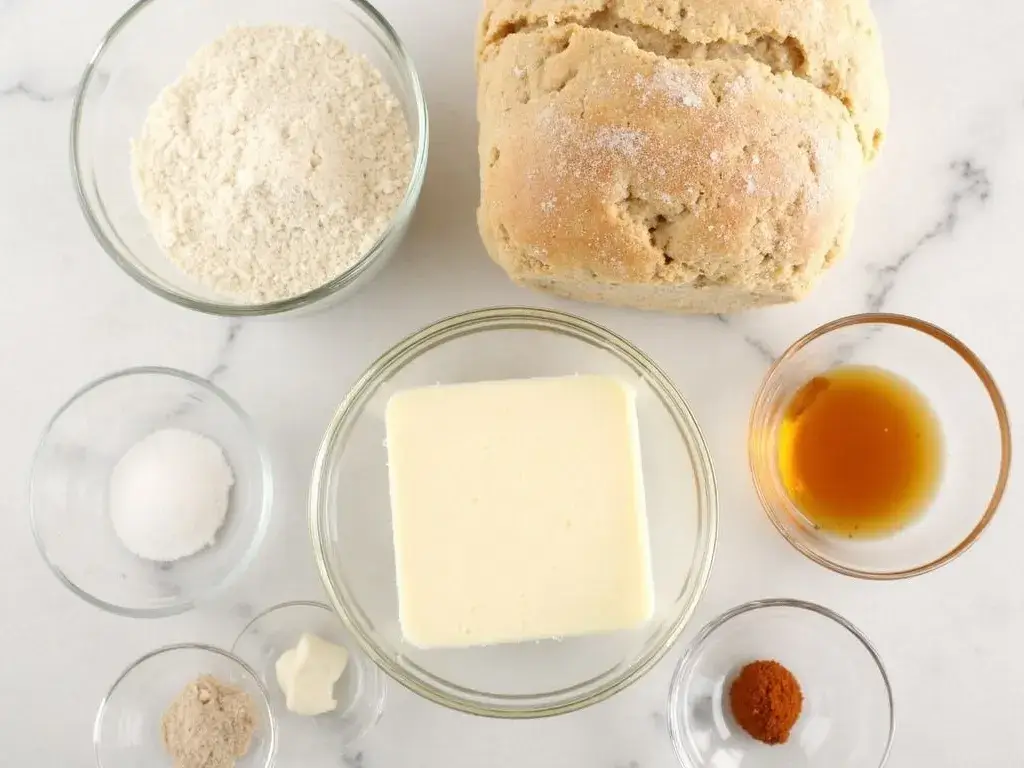
- 1 cup active sourdough starter, fed and bubbly (mature starter that doubles in 4-8 hours)
- 1¼ cups warm water, around 80-85°F (filtered water produces cleaner flavor)
- 2 tablespoons honey or maple syrup (adds moisture and subtle sweetness)
- 2 tablespoons olive oil or melted butter (creates tender crumb structure)
- 1 tablespoon salt, fine sea salt preferred (enhances flavor and strengthens gluten)
- 4½ cups bread flour, plus extra for dusting (King Arthur or Bob’s Red Mill work excellently)
Optional Enrichments:
- 2 tablespoons vital wheat gluten (for extra lift and chewiness)
- 1 tablespoon diastatic malt powder (enhances crust color and flavor)
- 1 egg, beaten (for golden egg wash on top)
- Seeds for topping: sesame, poppy, or everything bagel seasoning
Successful Substitution Guide: Replace honey with equal amounts of sugar or agave for vegan option. Whole wheat flour can substitute up to 1 cup of bread flour for nuttier flavor and added fiber. If using all-purpose flour, add 1 tablespoon vital wheat gluten per cup for better structure. The key is maintaining the hydration balance—bread flour absorbs more liquid than all-purpose, so adjust water gradually if substituting.
Timing
Complete Sourdough Timeline:
- Active Preparation Time: 30 minutes (spread across multiple sessions)
- First Rise (Bulk Fermentation): 4-6 hours at room temperature
- Shaping and Second Rise: 2-3 hours at room temperature
- Baking Time: 35-40 minutes
- Total Time: 7-9 hours (mostly hands-off fermentation)
This sourdough sandwich bread recipe requires 40% less active work than traditional bread recipes due to the natural fermentation process. Unlike commercial yeast bread that demands constant attention, sourdough develops flavor and structure through time rather than intensive kneading. The extended timeline allows you to fit bread-making around your schedule—start the dough in the morning for fresh evening bread, or begin after dinner for next-day sandwich loaves.
Step-by-Step Instructions
Step 1: Activate Your Foundation
Ensure your sourdough starter is active and bubbly—it should have doubled in size within 4-8 hours of feeding. Mix the starter with warm water in a large mixing bowl, whisking until well combined. The mixture should look cloudy with visible bubbles, indicating healthy fermentation activity. This foundation determines your bread’s rise and flavor development.
Step 2: Build the Enriched Dough Base
Add honey and olive oil to the starter mixture, whisking until fully incorporated. These enrichments create the tender, soft crumb that distinguishes sandwich bread from crusty artisan loaves. The fats coat gluten strands, producing a more delicate texture while the natural sugars feed the fermentation process and enhance browning.
Step 3: Incorporate Dry Ingredients
Add salt and 4 cups of bread flour to the liquid mixture, stirring with a wooden spoon until a shaggy dough forms. Don’t worry about smoothness at this stage—the goal is to hydrate the flour and begin gluten development. The dough should be slightly sticky but manageable, pulling away from bowl sides when stirred vigorously.
Step 4: Develop Structure Through Kneading
Turn the dough onto a lightly floured surface and knead for 8-10 minutes, adding the remaining ½ cup flour gradually as needed. The dough should transform from sticky and rough to smooth and elastic, passing the “windowpane test”—when stretched thin, it should be translucent without tearing immediately.
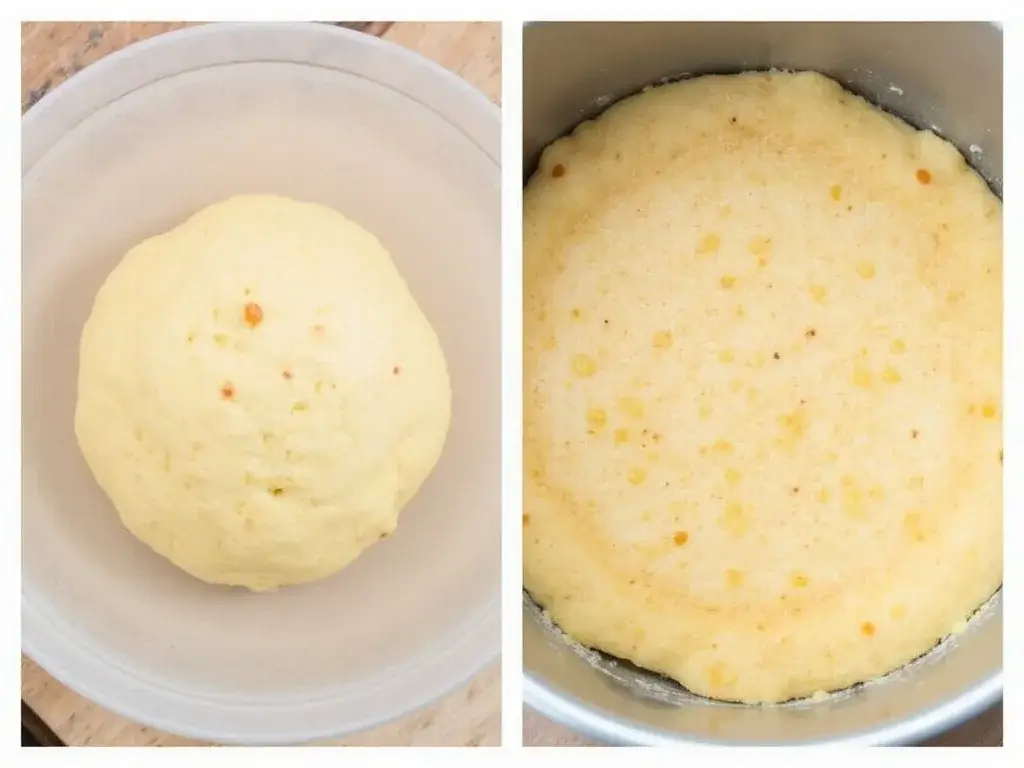
Step 5: First Rise and Flavor Development
Place the kneaded dough in a greased bowl, cover with a damp cloth, and allow to rise for 4-6 hours at room temperature (68-72°F). The dough should nearly double in size and develop a slightly tangy aroma. This extended fermentation creates the characteristic sourdough flavor while building the gluten network naturally.
Step 6: Shape the Loaves
Gently deflate the risen dough and divide it into two equal portions using a kitchen scale for accuracy. Shape each portion into a loaf by flattening into a rectangle, then rolling tightly from the short end. Pinch seams closed and place seam-side down in greased 8½x4½-inch loaf pans.
Step 7: Final Proof for Perfect Texture
Cover the shaped loaves with oiled plastic wrap or damp towels and allow to rise for 2-3 hours until the dough crowns about 1 inch above the pan edges. This second rise is crucial for achieving the light, airy texture that makes perfect sandwich bread. The dough should spring back slowly when gently poked.
Step 8: Prepare for Baking Excellence
Preheat your oven to 375°F (190°C) during the last 30 minutes of the final rise. For golden tops, brush loaves gently with beaten egg and sprinkle with seeds if desired. Score the tops with a sharp knife or razor blade, making three diagonal slashes about ¼-inch deep to control expansion during baking.
Step 9: Bake to Golden Perfection
Bake for 35-40 minutes until the crust is deep golden brown and the internal temperature reaches 190-200°F when measured with an instant-read thermometer. The loaves should sound hollow when tapped on the bottom. If tops brown too quickly, tent with aluminum foil during the last 10 minutes.
Step 10: Cool for Optimal Slicing
Remove loaves from pans immediately after baking and cool completely on wire racks for at least 2 hours before slicing. This cooling period allows the crumb structure to set properly—cutting too early results in gummy, compressed slices that won’t hold their shape for sandwiches.

Nutritional Information
Per Slice (24 slices total, 12 per loaf):
- Calories: 145
- Total Fat: 2g (3% DV)
- Saturated Fat: 0.3g (2% DV)
- Cholesterol: 0mg (0% DV)
- Sodium: 295mg (13% DV)
- Total Carbohydrates: 28g (10% DV)
- Dietary Fiber: 1.5g (5% DV)
- Total Sugars: 2g
- Added Sugars: 1g (2% DV)
- Protein: 5g (10% DV)
- Iron: 8% DV (from enriched flour)
- Folate: 15% DV (from fortified flour)
Sourdough Health Benefits: The fermentation process breaks down phytic acid and gluten proteins, making nutrients more bioavailable and the bread easier to digest. Sourdough bread has a lower glycemic index than conventional bread, causing less dramatic blood sugar spikes. The natural acids produced during fermentation may also support beneficial gut bacteria and improve mineral absorption.
Healthier Alternatives for the Recipe
Increasing Nutritional Density: Replace 1 cup bread flour with whole wheat flour to double the fiber content and add B-vitamins, minerals, and antioxidants. For even more nutrition, substitute ½ cup flour with ground flaxseed meal or almond flour, though this will create a denser texture. Add 2 tablespoons each of sunflower seeds and pumpkin seeds for healthy fats and protein.
Reducing Refined Ingredients: Use pure maple syrup or date paste instead of honey for vegan-friendly sweetening with additional minerals. Replace refined olive oil with avocado oil for higher smoke point and neutral flavor, or use melted coconut oil for subtle tropical notes and medium-chain fatty acids.
Gluten Considerations: While true gluten-free sourdough requires specialized flour blends and techniques, you can reduce gluten content by substituting up to 25% of bread flour with ancient grain flours like spelt, einkorn, or emmer. These heritage grains often digest more easily while maintaining excellent bread structure.
Lower Sodium Options: Reduce salt to 2 teaspoons without significantly impacting flavor, though fermentation time may increase slightly. Enhance flavor with herbs like rosemary or thyme, or add 1 tablespoon nutritional yeast for umami depth and B-vitamin content.
Serving Suggestions
Classic Sandwich Applications: This soft-crusted sourdough excels in traditional applications—thick-cut French toast absorbs custard beautifully while maintaining structure, and the tangy flavor complements both sweet and savory toppings. For gourmet grilled cheese, the bread’s sturdy crumb prevents sogginess while the slight acidity balances rich cheeses perfectly.
Creative Culinary Uses: Transform day-old slices into exceptional breadcrumbs for coating proteins or topping casseroles. Cube and toast for artisanal croutons that add sourdough tang to salads and soups. The bread also makes outstanding stuffing for holidays, with the fermented flavor adding complexity to traditional sage and herb combinations.
International Inspirations: Use thick slices for Italian-style bruschetta—the sturdy crumb supports heavy toppings while the sourdough tang complements tomatoes and herbs beautifully. For French-inspired pain perdu, the bread’s texture creates crispy exteriors with custardy centers. German-style open-faced sandwiches showcase the bread’s ability to support substantial toppings without breaking.
Storage and Freshness Tips: Slice only what you need immediately—whole loaves stay fresh longer. For optimal sandwich texture, slice bread ½-inch thick for substantial sandwiches or ¼-inch for delicate tea sandwiches. Lightly toast slices to refresh day-old bread and enhance the sourdough flavor profile.
Common Mistakes to Avoid
Starter Issues: Using inactive or weak starter is the primary reason for dense, poorly risen bread. Your starter should double in size within 4-8 hours of feeding and pass the float test—a spoonful should float in water when active. Feed your starter consistently for at least a week before attempting bread for best results.
Temperature Troubles: Dough temperature dramatically affects fermentation timing. Too cool (below 65°F) and fermentation crawls; too warm (above 80°F) and the dough over-ferments quickly, becoming sticky and hard to handle. Ideal dough temperature is 75-78°F throughout the process.
Hydration Mistakes: Adding too much flour during kneading creates dense, dry bread, while insufficient flour yields sticky dough that won’t hold loaf shape. The dough should be slightly tacky but not sticky enough to adhere to clean, dry hands. Flour absorption varies with humidity and flour brands—adjust gradually.
Timing Errors: Rushing the fermentation stages produces bread with poor flavor development and dense texture. Conversely, over-fermented dough becomes slack and acidic, failing to rise properly during baking. Learn to read your dough’s visual and tactile cues rather than relying solely on time.
Shaping Problems: Inadequate shaping creates loaves with poor structure that collapse during baking. The surface should be taut but not torn, with seams pinched securely closed. Practice creates muscle memory for consistent, professional-looking loaves.
Storing Tips for the Recipe
Short-Term Storage (3-5 Days): Store completely cooled loaves in airtight containers or plastic bags at room temperature. Sourdough bread maintains freshness longer than commercial bread due to natural acids that inhibit mold growth. Slice as needed rather than pre-slicing to maintain maximum freshness and prevent drying.
Long-Term Storage (Up to 6 Months): Freeze whole loaves or pre-sliced portions wrapped tightly in plastic wrap, then aluminum foil or freezer bags. Frozen sourdough maintains quality exceptionally well—thaw at room temperature for 2-3 hours or toast individual frozen slices directly. Label with date and contents for easy identification.
Reviving Day-Old Bread: Refresh slightly stale loaves by misting lightly with water and warming in a 350°F oven for 5-8 minutes. For individual slices, light toasting restores texture and enhances flavor. Day-old bread actually makes superior French toast and breadcrumbs due to reduced moisture content.
Maintaining Starter Health: Feed your sourdough starter regularly—daily if kept at room temperature, weekly if refrigerated. Consistent feeding schedules maintain the balanced microbial ecosystem necessary for reliable bread production. Keep detailed feeding logs to track your starter’s behavior and optimize timing.
Conclusion
This foolproof sourdough sandwich bread recipe transforms simple ingredients into two perfectly soft, tangy loaves through natural fermentation magic. The key lies in active starter, proper timing, and patience during each rise. With practice, you’ll master the rhythms of sourdough baking, creating wholesome bread that’s both nutritious and delicious for your family’s daily enjoyment.
Ready to start your sourdough journey? Try this tested recipe and share your beautiful loaves in our review section below! Tell us about your favorite sandwich combinations in the comments, and subscribe to our blog for more artisan baking recipes that bring homemade goodness to your kitchen table.